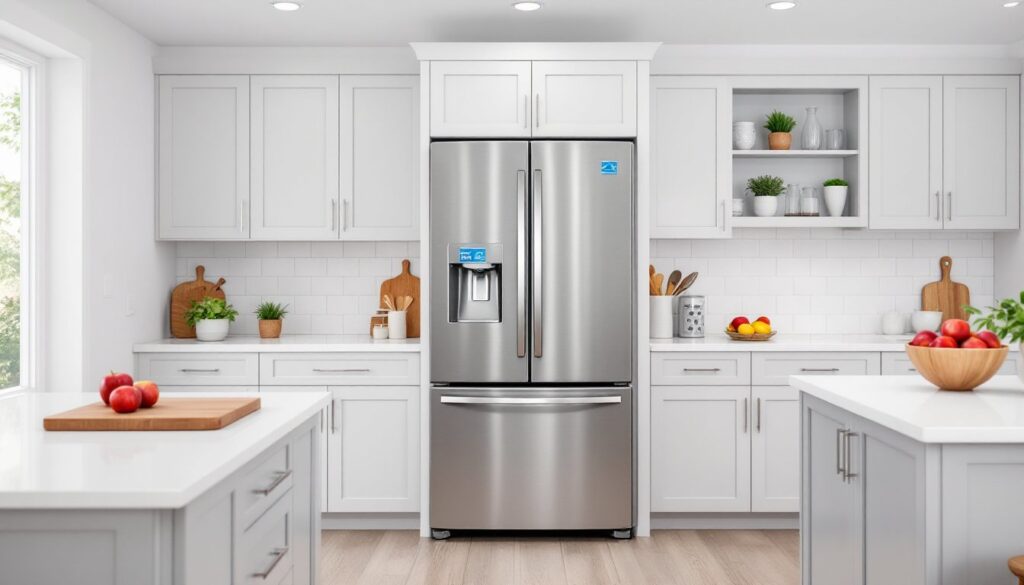

If you’ve ever noticed a chlorine taste in your fridge water or found sediment floating in your ice cubes, the culprit is likely your water supply, not the refrigerator itself. Most modern fridges come with built-in filtration, but those cartridges can be expensive, hard to find for older models, or simply inadequate for heavily contaminated water. That’s where an inline water filter for refrigerator systems comes in. Installed directly on the water line behind or beneath your fridge, these external filters catch contaminants before they ever reach your dispenser. They’re affordable, work with any fridge that has a water line, and give you control over what you’re drinking and freezing into ice.
Table of Contents
ToggleKey Takeaways
- An inline water filter for refrigerator systems costs $15–$40 and can last 1,000–1,500 gallons, making it significantly cheaper than brand-specific OEM filters that run $40–$60 every six months.
- Inline filters work universally with any refrigerator brand that has a water line and are ideal for older models with discontinued cartridges or appliances lacking built-in filtration.
- Look for NSF/ANSI 42 certification for municipal water and NSF/ANSI 53 for well water or older homes with potential lead contamination when selecting an inline water filter.
- Most DIYers can install an inline water filter in 30–45 minutes using basic tools and compression fittings with no soldering required.
- Replace your inline filter based on gallon capacity (typically 1,000 gallons = 1 year for average household use) rather than time intervals, and watch for signs like slow flow or returning chlorine taste.
- Preventive maintenance includes keeping a spare cartridge on hand, installing pressure regulators for high-pressure systems (above 80 PSI), and draining filters before winter in cold climates.
What Is an Inline Water Filter for Refrigerators?
An inline water filter is an external filtration unit that connects directly to the cold water supply line feeding your refrigerator. Unlike the cartridge that sits inside your fridge door or base grille, an inline filter is installed on the copper, PEX, or braided stainless line behind or under the appliance. It typically uses a carbon block, sediment pre-filter, or multi-stage cartridge housed in a compact cylinder or clear housing.
Most inline filters use ¼-inch compression fittings that attach via push-connect or threaded nuts, no soldering required. Once installed, water flows through the filter before entering the refrigerator’s internal system, catching chlorine, sediment, rust, and other particulates. The filter itself is often mounted to the wall or floor with a bracket, though some installers simply zip-tie it to the water line or nearby cabinetry.
These filters are universal, they work with any brand of refrigerator that has a water line, including models that lack a built-in filter or whose OEM cartridges are discontinued. They’re also a popular choice for those who want a best external water filter for refrigerator performance without the recurring cost of brand-specific cartridges.
Why Install an Inline Water Filter in Your Refrigerator?
The first reason is cost. OEM refrigerator filters from Samsung, LG, or Whirlpool can run $40 to $60 every six months. Inline filters typically cost $15 to $40 and last just as long, or longer. If you have an older fridge or a model with no factory filter slot, an inline unit is your only option short of replacing the appliance.
Second is filtration capacity. Many built-in filters are rated for only 200 to 300 gallons before replacement. A quality inline filter can handle 1,000 to 1,500 gallons, depending on the cartridge. That’s especially useful in households that use a lot of ice or have kids who drain the dispenser daily.
Third is water quality improvement. Inline filters often use larger carbon blocks or multi-stage media, which means better removal of chlorine taste, sediment, and volatile organic compounds (VOCs). If your municipal water has a strong chemical smell or you’re on well water with rust and particulates, an inline filter makes a noticeable difference. Home improvement experts at Family Handyman often recommend external filtration for older homes with galvanized plumbing, where sediment and scale are common.
Finally, inline filters are easier to source. Generic cartridges are available at any hardware store, and you’re not locked into a single manufacturer’s supply chain. If a model is discontinued, you can swap the housing and keep using the same line.
How to Choose the Right Inline Water Filter for Your Fridge
Not all inline filters are created equal. Here’s what to evaluate before you buy.
Filter Capacity and Lifespan
Gallon capacity is the primary spec to check. Entry-level filters are rated for 500 to 750 gallons, which is fine for light use, think a single person or couple who mostly drink tap water and use ice occasionally. For families or heavy users, look for 1,000 to 1,500-gallon cartridges. At an average household consumption of 2 to 3 gallons per day (ice plus dispenser use), a 1,000-gallon filter lasts roughly one year.
Some filters list lifespan in months rather than gallons. That’s less reliable because it doesn’t account for actual usage. A six-month filter in a household that uses 5 gallons a day will clog faster than the same filter in a home that uses 1 gallon a day. Always prioritize gallon ratings.
Also consider flow rate. Inline filters should maintain at least 0.5 GPM (gallons per minute) to keep your fridge dispenser running at normal speed. Heavily loaded carbon filters can slow flow if they’re undersized for the application.
Contaminant Removal Capabilities
Check the NSF/ANSI certifications on the filter packaging or spec sheet. The most relevant standards for refrigerator filters are:
- NSF/ANSI 42: Aesthetic effects, chlorine taste and odor, particulates
- NSF/ANSI 53: Health effects, lead, cysts, VOCs, some pesticides
- NSF/ANSI 401: Emerging contaminants, pharmaceuticals, herbicides (less common in inline filters)
If your water comes from a municipal supply, NSF 42 is usually sufficient. For well water or older homes with lead solder or brass fittings, NSF 53 certification is critical. According to a comprehensive water filter guide, refrigerator filters typically cost $20 to $50 and are tested to these standards, but inline models offer flexibility in choosing higher-capacity cartridges.
Also look at the filter media. Carbon block is the most common and handles chlorine, taste, and odor well. Sediment pre-filters (5 to 20 microns) are ideal if you have visible particulates or rust. Dual-stage filters combine both and are the best option for comprehensive filtration.
Step-by-Step Installation Guide for Inline Refrigerator Water Filters
Installing an in line water filter for refrigerator systems is a straightforward process that most DIYers can complete in 30 to 45 minutes. You’ll need basic hand tools and minimal plumbing experience. Here’s how to do it.
Tools and materials:
- Inline water filter kit (with housing, cartridge, and fittings)
- Adjustable wrench or 7/16-inch wrench
- Bucket or towel
- Utility knife or tubing cutter (if shortening line)
- Teflon tape (optional, for threaded fittings)
- Mounting bracket and screws (if not included)
Safety note: Wear safety glasses when working with pressurized lines. Even after shutting off the valve, residual pressure can spray water when fittings are loosened.
Step 1: Shut off the water supply. Locate the saddle valve or quarter-turn shutoff valve on the copper or PEX cold water line behind or under the fridge. Turn it clockwise until fully closed. If there’s no dedicated valve, you’ll need to shut off the main water supply to the house.
Step 2: Disconnect the refrigerator water line. Pull the fridge forward to access the rear panel. Locate the ¼-inch water line connection, usually a compression fitting or push-to-connect coupling. Use an adjustable wrench to loosen the nut, or press the release collar on push-fit fittings. Have a bucket ready: a few ounces of water will drain out.
Step 3: Cut the line (if necessary). Most inline filters require a straight section of tubing at least 6 to 8 inches long. If your line is kinked or too short, cut it with a tubing cutter and ensure the ends are square and clean. Ragged cuts can cause leaks.
Step 4: Install the filter housing. The filter will have an inlet (marked “IN” or with an arrow) and an outlet. The inlet connects to the water supply valve: the outlet connects to the refrigerator. Slide the compression nuts and ferrules onto the tubing, then insert the tubing into the filter fittings. Hand-tighten the nuts, then snug them with a wrench, about a quarter-turn past hand-tight. Don’t overtighten: brass fittings can crack.
Step 5: Mount the filter. Use the included bracket to screw the filter housing to the wall or floor behind the fridge, or secure it with zip ties to the water line. The filter should be oriented vertically or at a slight angle to prevent air pockets.
Step 6: Flush the system. Turn the water supply back on slowly and check all fittings for leaks. Let the fridge dispenser run for 3 to 5 minutes to purge air and carbon fines from the new cartridge. The first gallon or two may appear cloudy or have black specks (carbon dust), this is normal and harmless.
Step 7: Check for leaks again. After flushing, inspect all connections. If you see drips, tighten the fittings slightly. If a fitting still leaks, disassemble it, check the ferrule, and reassemble.
DIYers often ask whether they need a shut-off valve on each side of the filter for easier cartridge changes. It’s not required, but installing quarter-turn ball valves upstream and downstream makes future swaps cleaner and faster.
Maintenance Tips and When to Replace Your Filter
Inline filters require minimal maintenance, but neglecting them can lead to reduced water flow, bad taste, or even damage to your refrigerator’s internal valve.
Replacement schedule: Follow the manufacturer’s gallon rating, not just the time interval. If you use 3 gallons per day and have a 1,000-gallon filter, replace it after about 11 months. Most filters include a date sticker, write the install date on it and add the expected lifespan.
Signs it’s time to replace:
- Slow water flow from the dispenser or ice maker
- Return of chlorine taste or odor
- Visible sediment in ice cubes
- Filter housing is discolored (if using a clear housing)
How to change the cartridge: Shut off the water supply, relieve pressure by dispensing water, then unscrew the filter housing (it’s usually a spin-off sump). Remove the old cartridge, wipe out the housing, install the new cartridge, and reassemble. Flush for 2 to 3 minutes. Some housings have an o-ring seal, inspect it for cracks and replace if worn.
Pressure considerations: If you have high water pressure (above 80 PSI), consider installing a pressure regulator upstream of the filter. Excessive pressure can damage plastic housings or cause premature cartridge failure. Check your home’s pressure with a gauge (available at any hardware store for under $10).
Freezing risk: If your fridge is in an unheated garage or basement, water in the filter can freeze and crack the housing. Either drain the filter before winter or use heat tape on the line. Resources like The Kitchn often cover seasonal appliance prep, including winterizing fridge water lines in cold climates.
Keep a spare cartridge on hand. Filters don’t expire if stored in a cool, dry place, and having one ready means you won’t be without clean water while waiting for a replacement to ship.