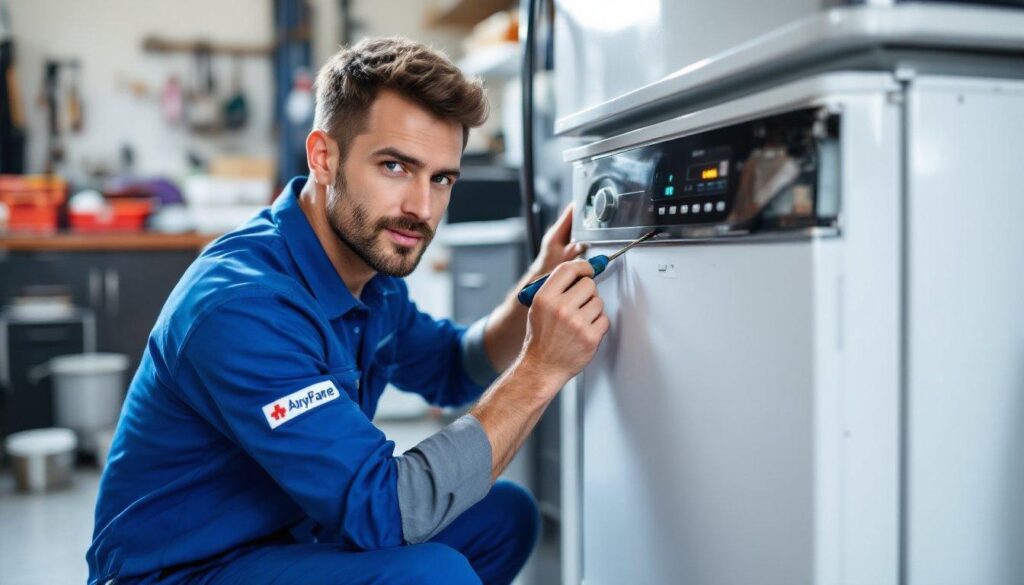

A puddle on the floor, standing water in the tub, or a dishwasher that hums but won’t drain, these are telltale signs that your Whirlpool dishwasher’s drain pump might be on its last legs. The drain pump is a small but critical component that evacuates dirty water after each wash cycle. When it fails, everything grinds to a halt. The good news? Diagnosing and replacing a faulty drain pump is a manageable DIY project for most homeowners with basic mechanical skills and a few hand tools. This guide walks through how the drain pump works, how to spot a problem, and how to swap it out yourself, saving a service call that can easily run $200 or more.
Table of Contents
ToggleKey Takeaways
- A failing Whirlpool dishwasher drain pump typically shows warning signs like standing water, humming noises, or error codes before complete failure, allowing you to diagnose the problem early.
- Replacing a Whirlpool dishwasher drain pump is a manageable DIY project that takes 30 to 60 minutes and can save $200 or more on professional service calls.
- Common causes of drain pump failure include food debris jamming the impeller, worn motor bearings, electrical issues, or aging components over 7 to 10 years of use.
- Before replacing the pump, check the drain hose, filter, sump area, and test for proper voltage using a multimeter to confirm the pump motor is actually faulty.
- Regular maintenance like scraping dishes, cleaning the filter monthly, and running the dishwasher at least twice weekly can extend your drain pump’s lifespan significantly.
- If drainage problems persist after replacing the drain pump, the issue likely involves the control board or home plumbing, requiring professional diagnosis.
What Is a Dishwasher Drain Pump and How Does It Work?
The drain pump is an electric motor-driven impeller assembly that forces wastewater out of the dishwasher tub and into your home’s drain line. In most Whirlpool models, it sits at the bottom of the machine, directly beneath the filter and sump area.
Here’s the basic cycle: after the wash or rinse phase, the dishwasher’s control board sends voltage to the drain pump motor. The impeller spins at high speed, typically between 3,000 and 4,000 RPM, creating enough pressure to push water up through the drain hose and into your sink’s air gap or garbage disposal. The pump runs for 60 to 90 seconds, then shuts off once the water level sensor confirms the tub is empty.
Most Whirlpool dishwashers use a non-reversible drain pump, meaning it only pumps in one direction. Some older or high-end models use a reversible pump that also circulates wash water, but the majority of mid-range units have a dedicated drain pump and a separate wash motor. The pump housing is usually black or gray plastic, and the impeller blades inside are designed to handle small food particles without clogging.
Signs Your Whirlpool Dishwasher Drain Pump Is Failing
A failing drain pump rarely quits without warning. Watch for these symptoms:
Standing water after a cycle. If you open the door and find an inch or more of dirty water pooling at the bottom, the pump isn’t evacuating the tub. Check the drain hose and filter first, if those are clear, the pump is likely the culprit.
Humming or buzzing during drain cycle. The motor tries to spin but can’t overcome a jam or worn bearing. You’ll hear the hum, but no water moves. This often means a stuck impeller or a failing motor winding.
Grinding or rattling noises. Foreign objects, like toothpicks, small utensils, or broken glass, can lodge in the impeller. A healthy pump runs quietly: grinding suggests mechanical damage.
Error codes or blinking lights. Many Whirlpool models flash a diagnostic code when the drain cycle times out. Common codes include F6 E4 or F9 E1, which indicate a drain fault. Consult your owner’s manual for model-specific codes.
Intermittent draining. The pump works sometimes but not always. This points to loose wiring, a failing motor capacitor, or an impeller that’s partially obstructed.
If you’re seeing any combination of these, it’s time to dig deeper.
Common Causes of Drain Pump Problems
Drain pumps fail for a handful of predictable reasons:
Food debris and foreign objects. Even with a filter in place, small particles can bypass and jam the impeller. Bones, fruit pits, twist ties, and broken dish fragments are common offenders. Always scrape plates before loading.
Worn or damaged impeller. Over time, the plastic or rubber impeller blades wear down or crack, reducing pumping efficiency. Hard water accelerates this wear.
Motor bearing failure. The pump motor has a sealed bearing that can seize after years of use. Once it binds, the motor draws excessive current and may trip the control board’s thermal protection.
Electrical issues. Corroded wire terminals, a blown motor capacitor, or a faulty control board relay can prevent voltage from reaching the pump. Use a multimeter to check for continuity and proper voltage (typically 120V AC).
Clogged drain path. Sometimes the pump itself is fine, but the drain hose, air gap, or garbage disposal inlet is blocked. Clear these before assuming the pump is dead.
Age and usage. Most drain pumps last 7 to 10 years under normal use. If your dishwasher is approaching that mark, replacement is often more cost-effective than troubleshooting minor electrical faults.
How to Troubleshoot a Whirlpool Dishwasher Drain Pump
Before ordering a new pump, run through these diagnostic steps. You’ll need a flashlight, a multimeter, and a Phillips screwdriver.
1. Check the drain hose and air gap. Disconnect the drain hose from the sink or disposal and blow through it. If water or debris comes out the other end, the hose was kinked or clogged. Clear it and test the dishwasher again.
2. Inspect the filter and sump. Remove the lower dish rack and unscrew the cylindrical filter assembly. Pull it out and look into the sump cavity. Shine a light down and check for foreign objects around the impeller. Rotate the impeller by hand, it should spin freely with slight resistance. If it’s stuck or grinds, you’ve found the problem.
3. Test for voltage at the pump. Disconnect power at the breaker. Pull the dishwasher out from under the counter and tip it back slightly to access the bottom. Locate the drain pump (usually near the front-left corner). Reconnect power and start a drain cycle. Use the multimeter to check for 120V AC at the pump’s wire terminals. If voltage is present but the pump doesn’t run, the motor is dead. If there’s no voltage, troubleshoot the control board or wiring harness.
4. Check pump continuity. Disconnect power again. Unplug the wire harness from the pump. Set the multimeter to ohms and probe the pump’s terminals. A working motor should read between 30 and 150 ohms. Open circuit (infinite resistance) means the motor winding is burned out.
5. Listen and observe. Sometimes the issue is obvious. If the pump hums loudly and you smell burning plastic, the motor has seized. If you hear clicking from the control board but no pump activity, suspect a bad relay or triac on the board itself.
Many DIYers find detailed walkthroughs on maker-focused platforms helpful when troubleshooting unfamiliar appliances.
Step-by-Step Guide to Replacing a Whirlpool Dishwasher Drain Pump
Replacing a drain pump typically takes 30 to 60 minutes. This is a straightforward mechanical swap, no soldering or specialized tools required.
Safety first: Disconnect power at the circuit breaker and shut off the water supply valve under the sink. Lay down towels to catch any residual water.
Tools and Parts You’ll Need
Tools:
- Phillips and flathead screwdrivers
- 1/4-inch nut driver or socket set
- Slip-joint pliers
- Flashlight or work light
- Shallow pan or towels for water catchment
Parts:
- Replacement drain pump (Whirlpool part number W10348269, W10630073, or model-specific equivalent, check your dishwasher’s service manual or the existing pump’s label)
- Hose clamps (if originals are corroded)
Procedure:
1. Remove the lower access panel. Most Whirlpool dishwashers have a toe-kick panel at the base. Unscrew or unclip it and set it aside.
2. Pull the dishwasher forward. Open the door and remove the two screws securing the unit to the underside of the countertop. Carefully slide the dishwasher out, protecting your flooring with cardboard. Tip it back slightly (rest it on a 2×4 or similar) to access the underside.
3. Locate and disconnect the drain pump. The pump is usually mounted to the sump housing with two or three screws or quarter-turn tabs. Disconnect the wire harness by pressing the locking tab and pulling. Use pliers to loosen the hose clamps on the inlet and outlet hoses, then slide the hoses off. Have your pan ready, residual water will spill.
4. Remove the old pump. Unscrew or twist the pump free from its mounting bracket. Note the orientation, some pumps have a specific top/bottom alignment.
5. Install the new pump. Position the replacement pump in the same orientation. Secure it with screws or tabs. Slide the hoses back onto the inlet and outlet ports, and tighten the clamps snugly (don’t overtighten plastic fittings). Reconnect the wire harness, it should click into place.
6. Test before reassembly. Slide the dishwasher partway back, reconnect power and water, and run a short drain cycle. Listen for normal operation and check for leaks around the hose connections. If all’s well, turn everything off again.
7. Reassemble and secure. Push the dishwasher back into place, reattach the mounting screws, and replace the toe-kick panel. Turn on water and power, then run a full cycle to confirm proper drainage.
Homeowners looking for visual step-by-step instructions often find diagrams and photos especially helpful during whirlpool dishwasher drain pump replacement projects.
Maintenance Tips to Extend Your Drain Pump’s Lifespan
A little preventive care goes a long way:
Scrape dishes before loading. The filter catches most solids, but small particles still reach the pump. Remove bones, seeds, and stickers.
Clean the filter monthly. Unscrew the cylindrical filter, rinse it under hot water, and scrub with a soft brush. A clogged filter forces the pump to work harder.
Run hot water before starting a cycle. Turn on the sink faucet until the water runs hot, then start the dishwasher. This ensures the pump and spray arms work with optimal water temperature, reducing grease buildup.
Use rinse aid and proper detergent. Too much detergent creates excess suds, which can gum up pump seals. Follow manufacturer recommendations, usually one tablespoon of powder or one pod per load.
Check the drain hose annually. Look for kinks, cracks, or sagging sections that can trap debris. The hose should have a high loop or air gap to prevent backflow.
Avoid overloading. Cramming in too many dishes can cause items to fall and jam the impeller. Load according to the rack design.
Run the dishwasher regularly. If you only run it once a week, seals dry out and debris hardens in the sump. Aim for at least two cycles per week to keep everything lubricated and flushed.
DIYers who tackle appliance repair tasks themselves save hundreds over the life of a dishwasher. With routine care, a new drain pump can last another decade.
When to call a pro: If you’ve replaced the pump and still have drainage issues, the problem may be in the control board, wiring harness, or home plumbing. Intermittent electrical faults and board-level diagnostics are best left to a licensed appliance technician.